
Lockdown DIY

Our bedroom is a bit of a mess and was simply doing my head in. Spending more time at home with the kiddy bids during lockdown I really needed a space to escape from the noise and toys. We have long term plans to renovate this room (which I can’t wait for) but with the big extension coming up this might not be for a good few years and I just couldn’t cope with it the way it was any longer. A quick lick of Natural Paint Co ‘Noctournal’ on the back wall to cover the worst of the cracks and bring a bit of drama as well as painting the headboard gave it the quick makeover I was looking for. But the one thing missing was some kind of lighting feature to disguise the bare bulb. I didn’t want to spend a bunch of money knowing again that in a few years we’ll be doing this room properly and I’ll splurge on a real wow piece I already have in mind for this space.
So I turned to good ole Pinterest and saw these DIY capiz light fittings. You only need a few inexpensive items to whip one up and it was actually really simple. I already had a light shade I’d gotten at Mitre 10 pre lockdown, but now that we’re back in level two you could totally nab something from an op shop and use that which would be much better for your wallet and the planet.


What you’ll need:
Light shade (you’ll rip the fabric off so go cheap or better yet secondhand)
Waxed paper (I used less than one roll)
Spraypaint (optional)
Thread and access to a sewing machine
Hot glue gun
Wire - depending on the type of light shade you have


Step 1
Lay three sheets of waxed paper - all wax side down - on top of each other. You can cut these to whatever size you like, I just did a decent length that easily fit on my ironing board. With a dry iron, on a medium heat, melt the sheets together.

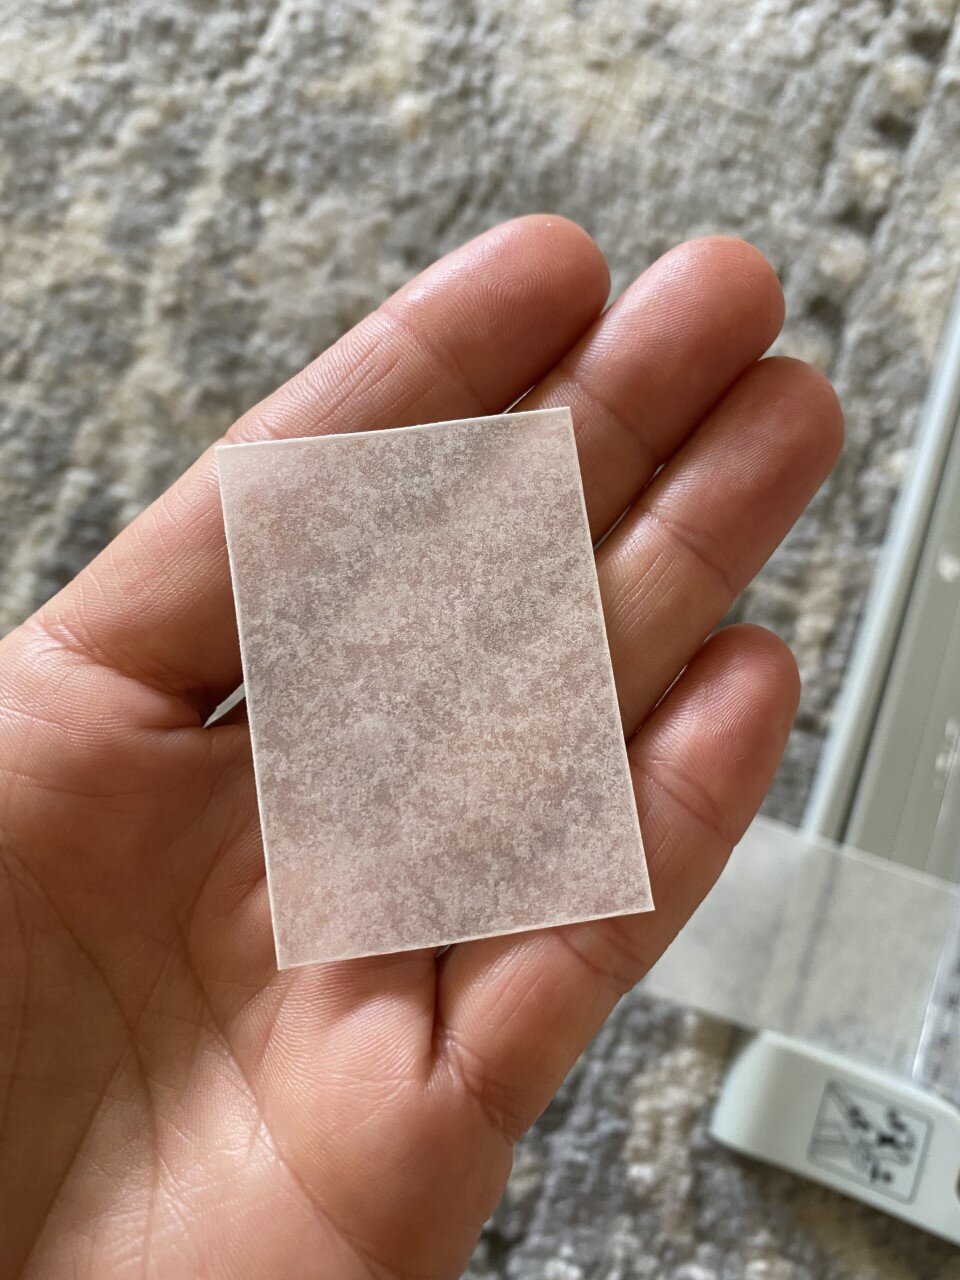
Step 2
Cut the sheets into small rectangles. I have a craft cutter so used this as it’s quicker but you can easily just cut them up with scissors or a stanley knife. I intentionally made some slightly smaller/bigger so they weren’t 100% uniform, but they are roughly 4cm wide by 5cm high. I’ve also seen them done as rounds which look really great but unless you have a round punch would be way more effort!
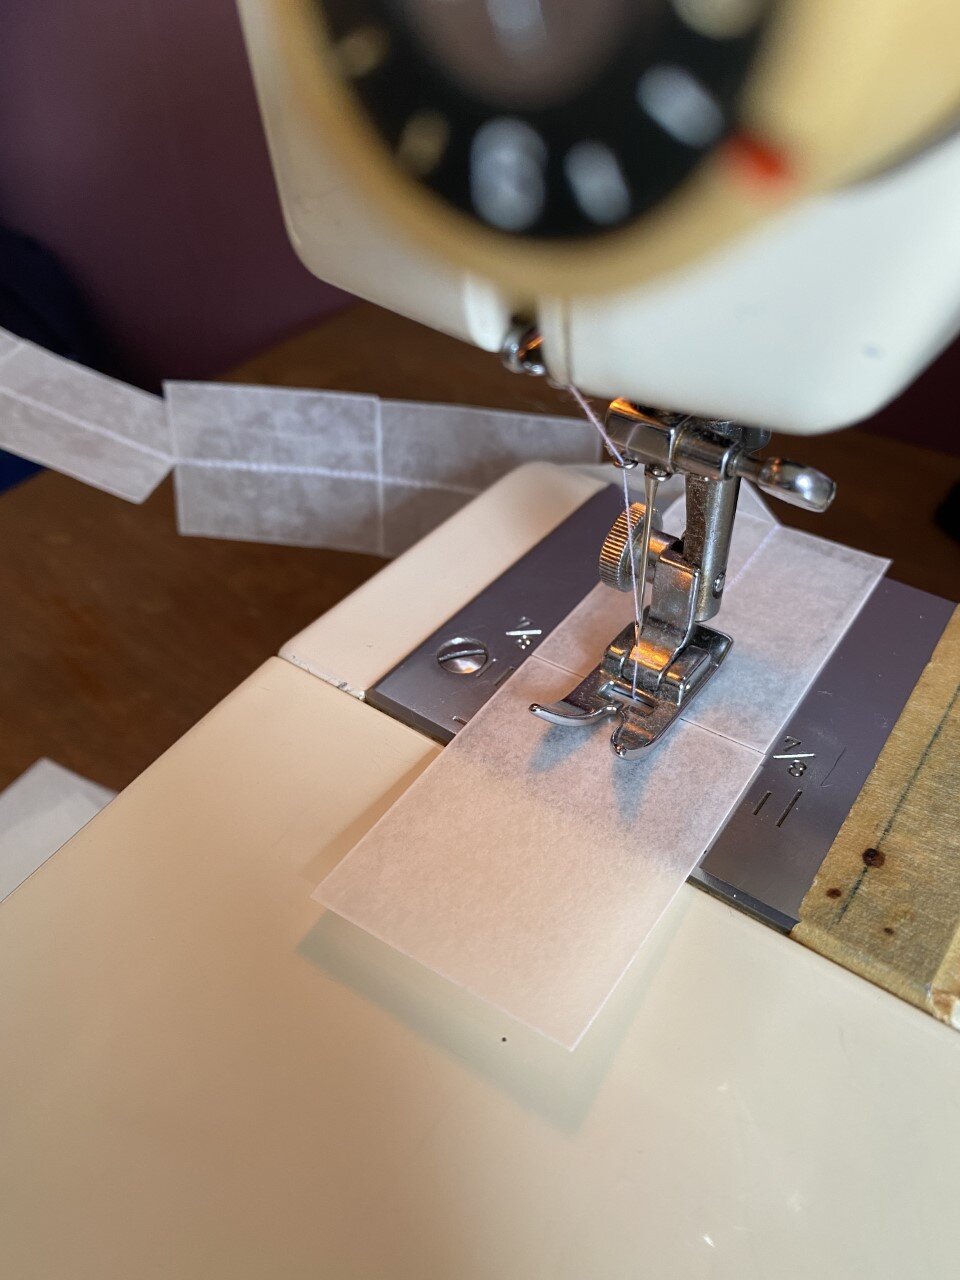
Step 3
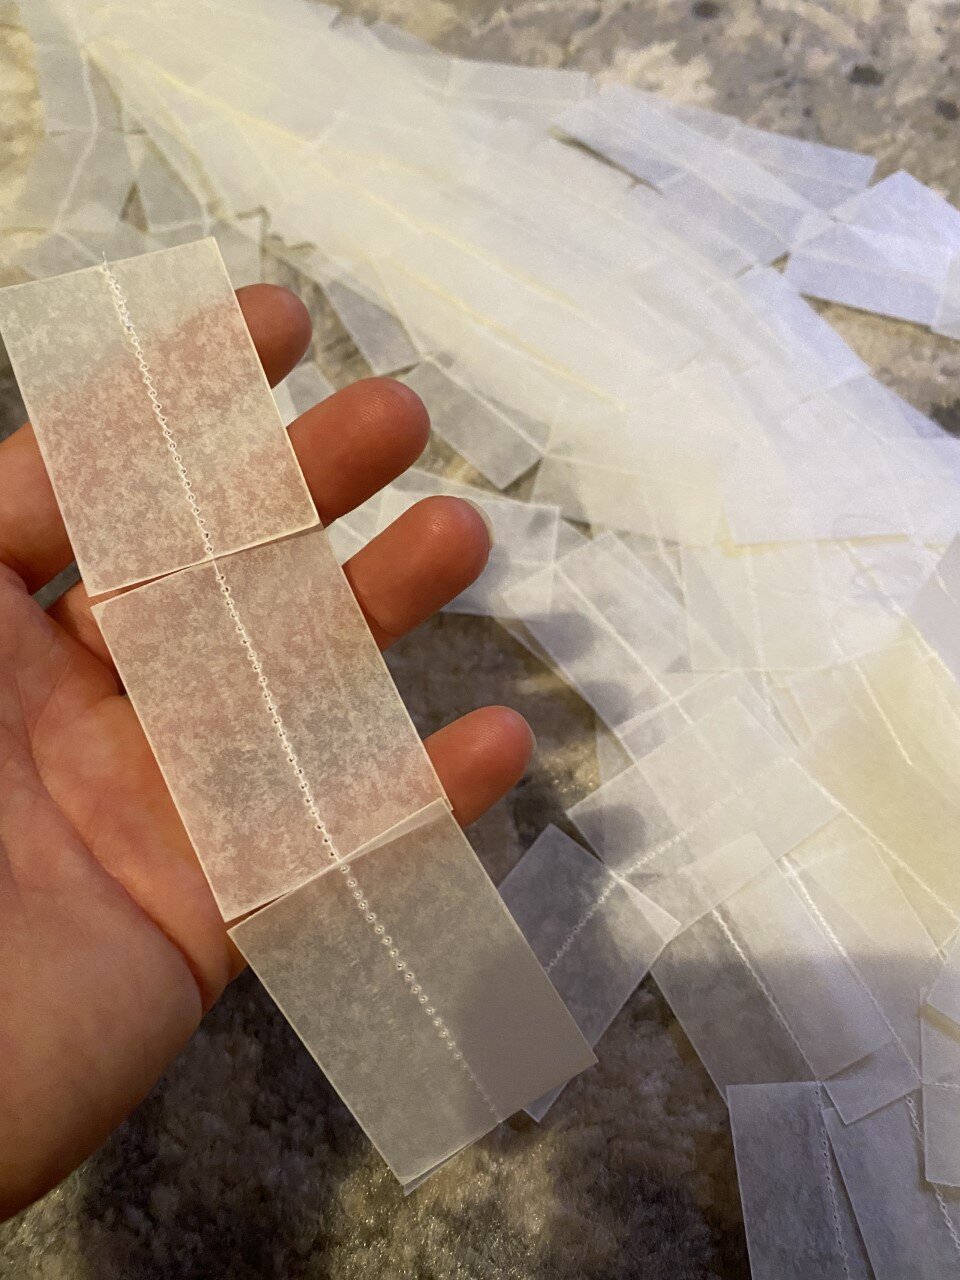
Sew into lengths. Figure out how long you want your light to hang - I did mine waaaay too long the first time, it looked like a squid so I ended up cutting them down. I did two lengths so they hang staggered. The long has 8 rectangles the short has 7. I first did 12 and 14 not wanting it to be too short so just double check!
I also measured the circumference of my circle and divided it by the width of the rectangles. I needed around 32 or so for the outside and 27 for the inner ring.


Step 4
I added an extra ring of wire to my light fitting. Simply cut it to size and hot glued into place. I then sprayed the wire gold, this is optional as you won’t really see the internal wire but if you want to change the colour of the outter frame is a good option. Again I just happened to have this at home, so it’s not a requirement at all if you’re trying to keep cost down, though I do think it adds a little glam.
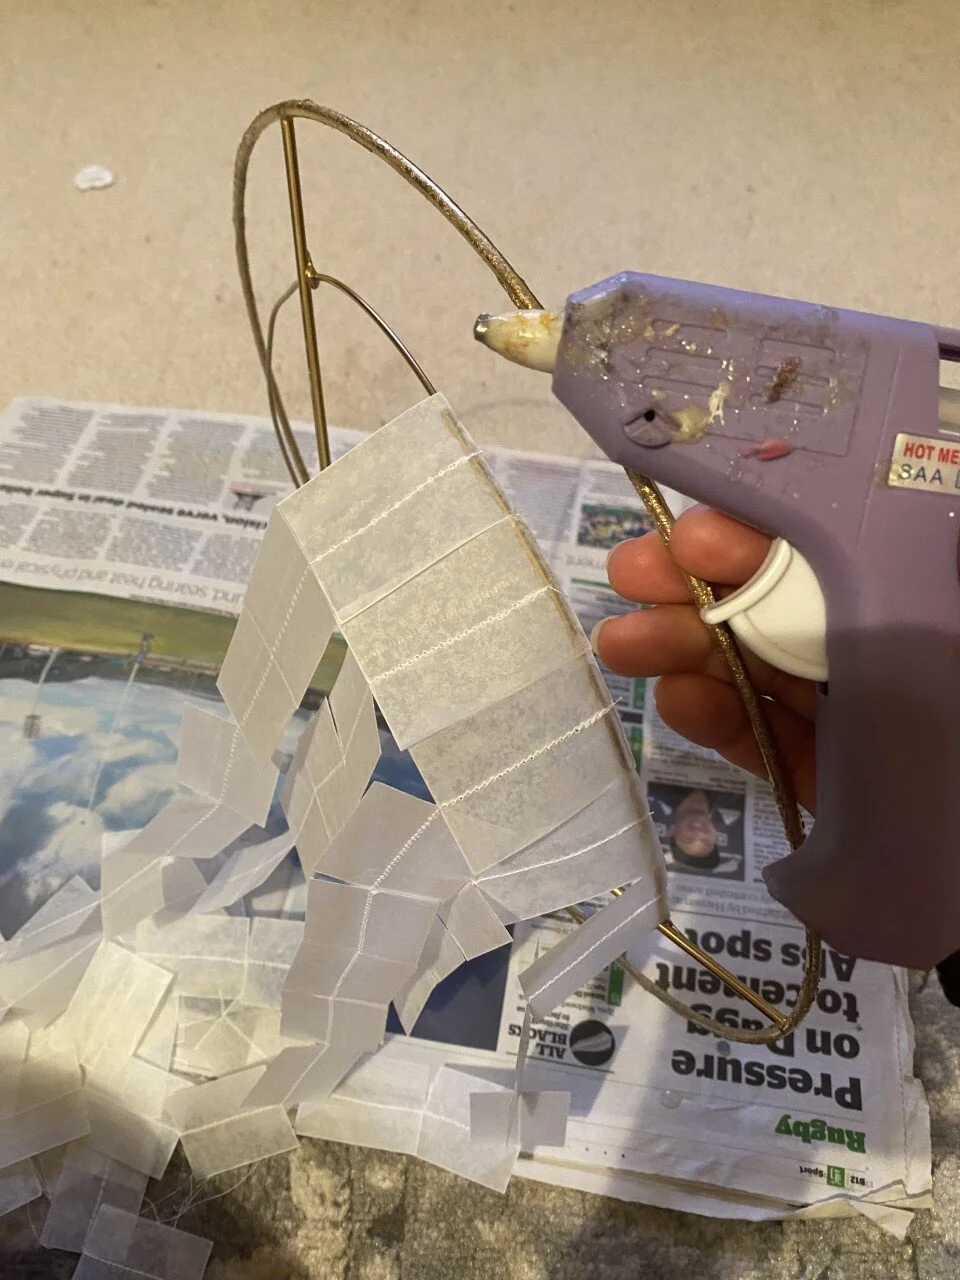

Step 5
Glue your chain of paper to the wire frame. Starting with the inner ring and working your way around. This is a bit fiddly and time consuming but didn’t take too long with a show on in the background, I think it took me a couple episodes of Friends and I was done! Just check whether you’ll need to cut any down a fraction or overlap a little so that you get an even fit around depending on how many you need to cover your circle. Viola! You have a pretty new light fixture.
Note: If you live in Taranaki like me - I could not for the life of me find waxed paper in our province! It is sold at New Worlds in other parts of the country for under $4 a roll, just not here! A lovely stranger from a craft page in Auckland sent this to me so check with a friend from out of town whether their supermarket stocks it.
